
Our Wedding: The Tea Ceremony
It's been nearly a year since this whole wedding shenanigans thing went down and of course, it's one of our favorite weekends to reminisce and look back at photos of. We basically had a two-day wedding because we wanted to incorporate the traditional Vietnamese tea ceremony and doing this on the actual wedding day would've been very stressful and too long of a day. The evening following this, we had a "fancy" 10-course meal at the Hong Kong Seafood Restaurant off of Rainier in Seattle. Mostly this was for my extended family and my parents' elaborate list of friends. It was fun though and it'll explain why you've seen me in multiple outfits because yes, I did have another wedding dress for this as well. Call me a diva. But not really.
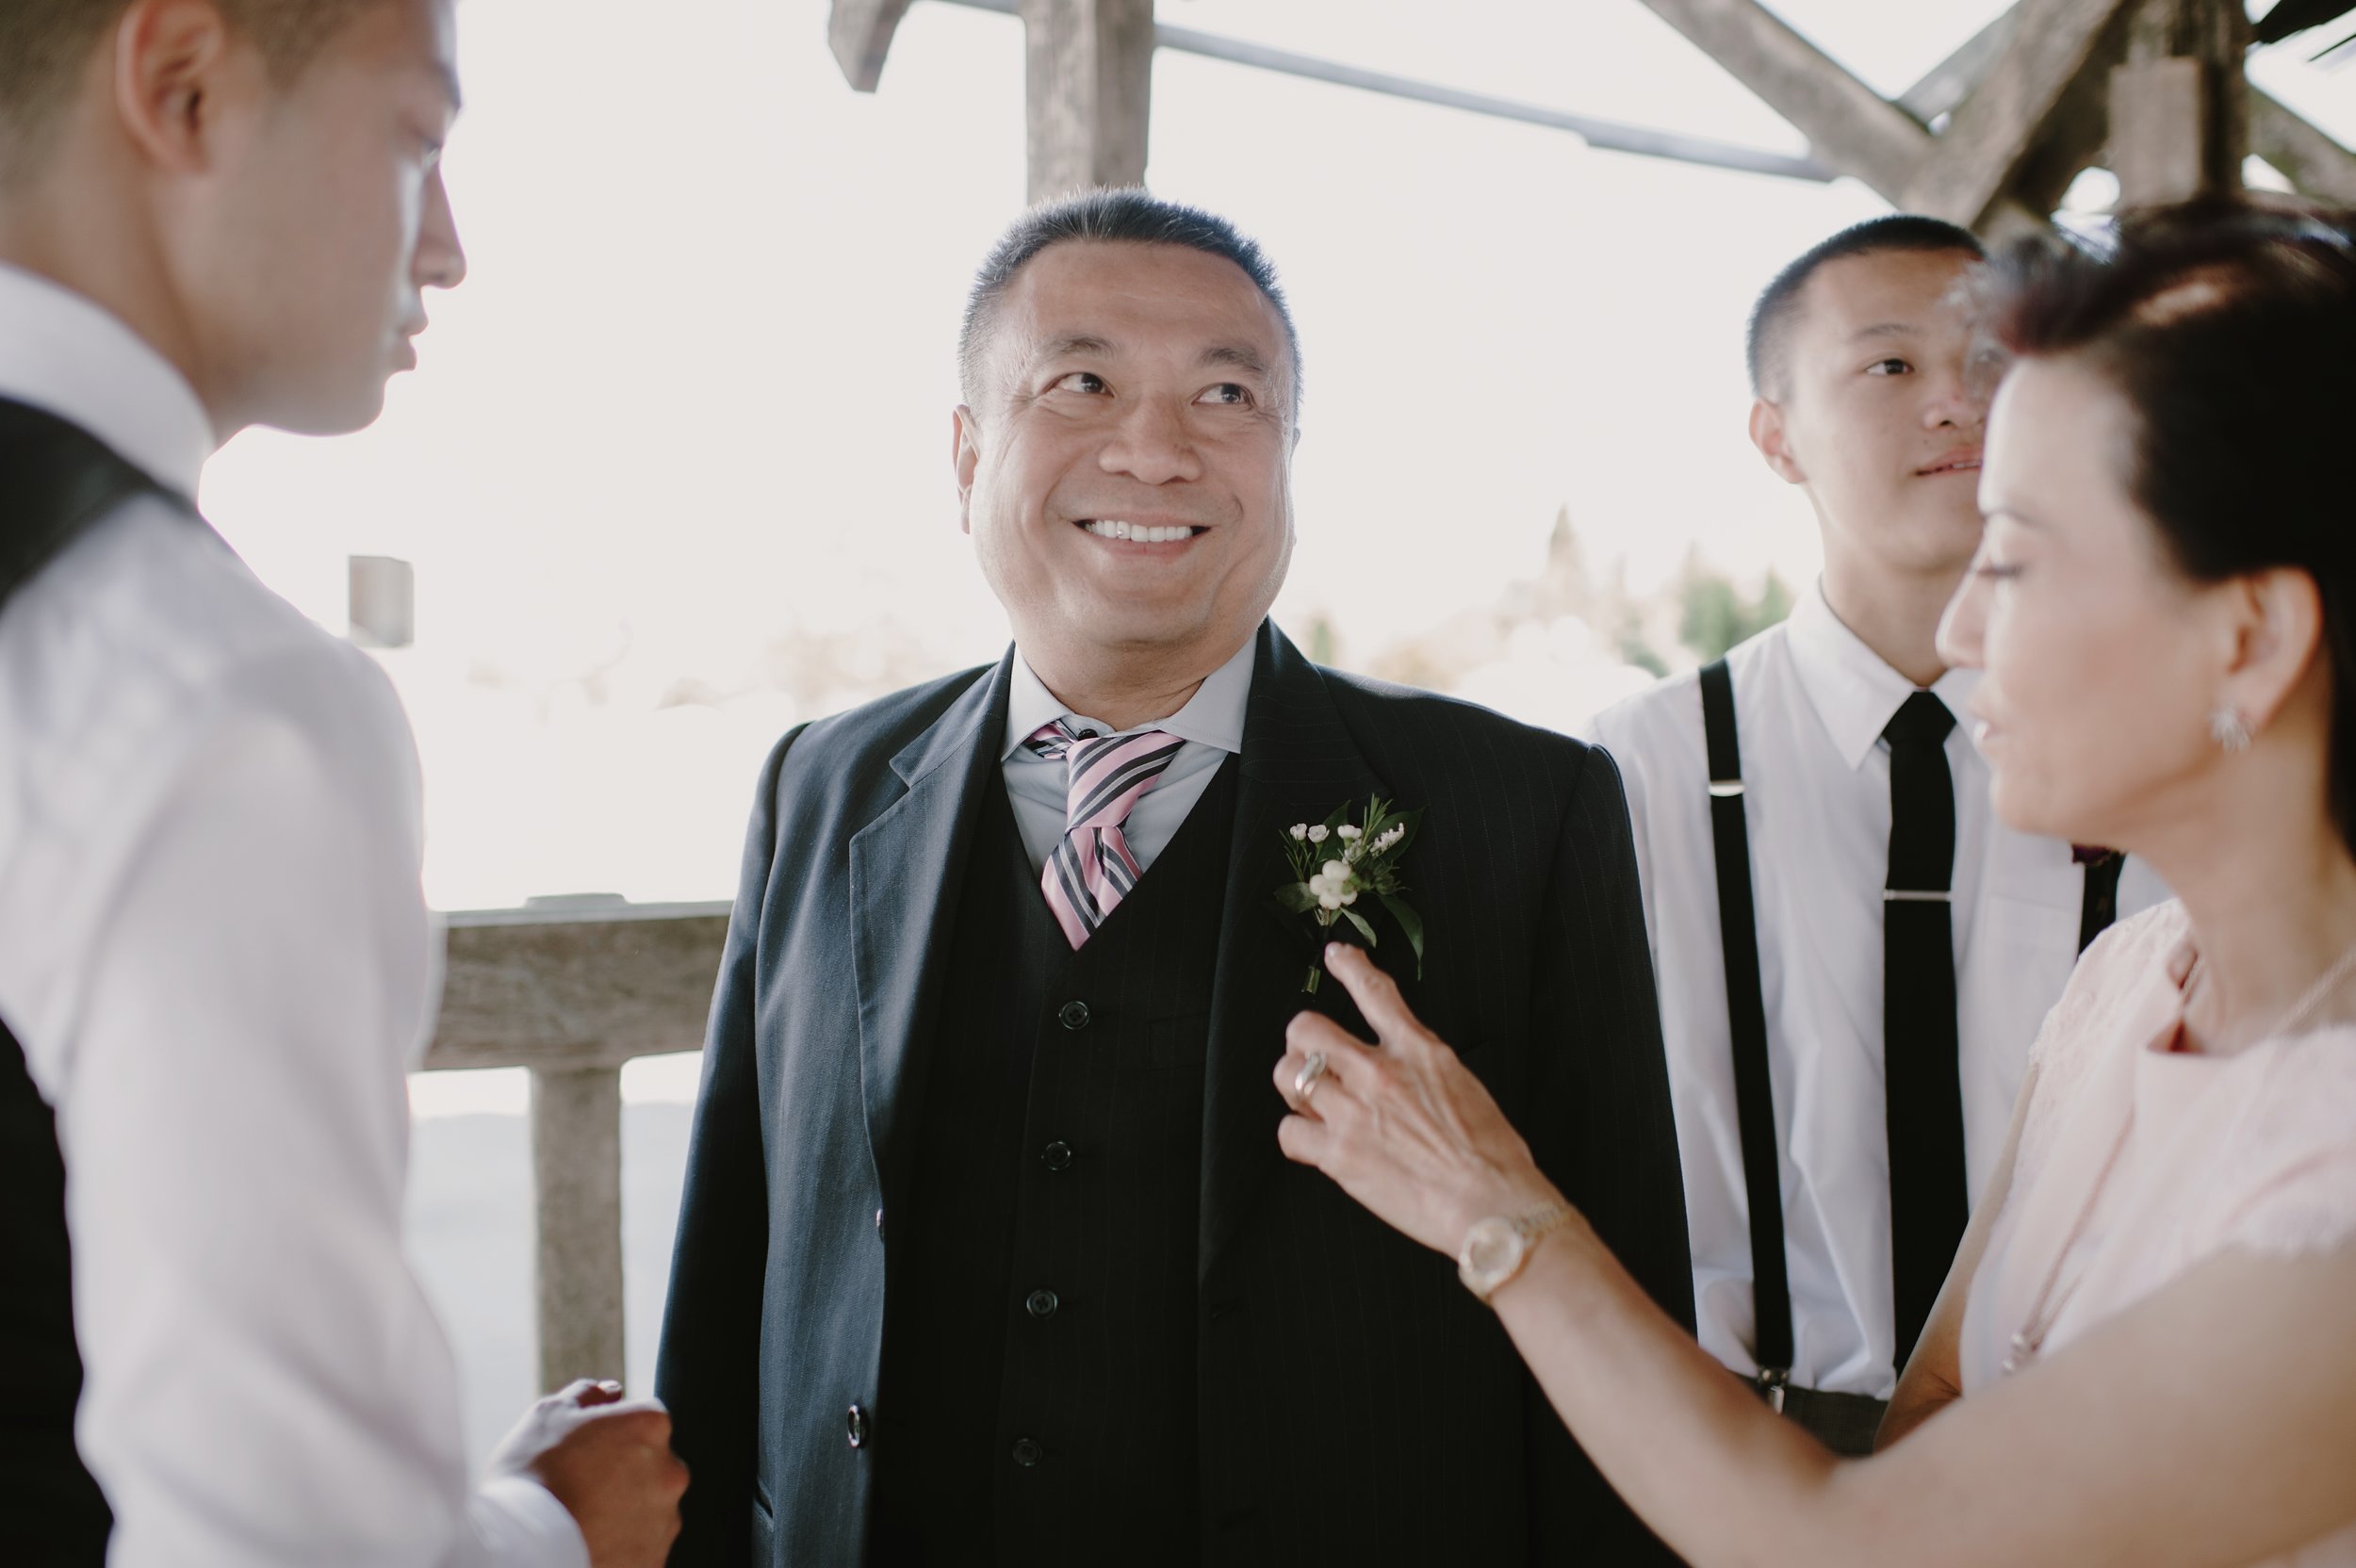
Truth be told, the tea ceremony was probably a highlight of the weekend for us. We loved how much joy was in my parents' home- the home I grew up in- was that morning. And I'm really glad we decided to have the tea ceremony. Our gowns (ao dais) were custom made in Vietnam and given to us by some of my dad's closest friends. I sure felt fancy in them :) Enjoy some of these photos, thanks to our dear friend Shelby.
Stay tuned for part 9- photos from our wedding day!


Our Wedding: The Newspaper Program
I saw a sweet wedding invitation printed in a newspaper format once. This would be too expensive to mail out, as they're bigger... but I still wanted to do something with this idea... so we decided to make our programs into newspapers instead. This was Aaron and mine's favorite part of wedding planning: designing our wedding program. We wanted something different and it was really fun to collaborate with him and to see his creative side in this as well.
We used the Newspaper Club to print these and loved how they turned out. Inside is a quick summary of our story, thank-yous to our vendors, bios of our wedding party, activities for the kiddos at our wedding, and some photos ;) You can view the PDF online here... and if anyone out there loves these as much as I do and want something similar for their wedding, holler at me because I'd love to design one of these again!


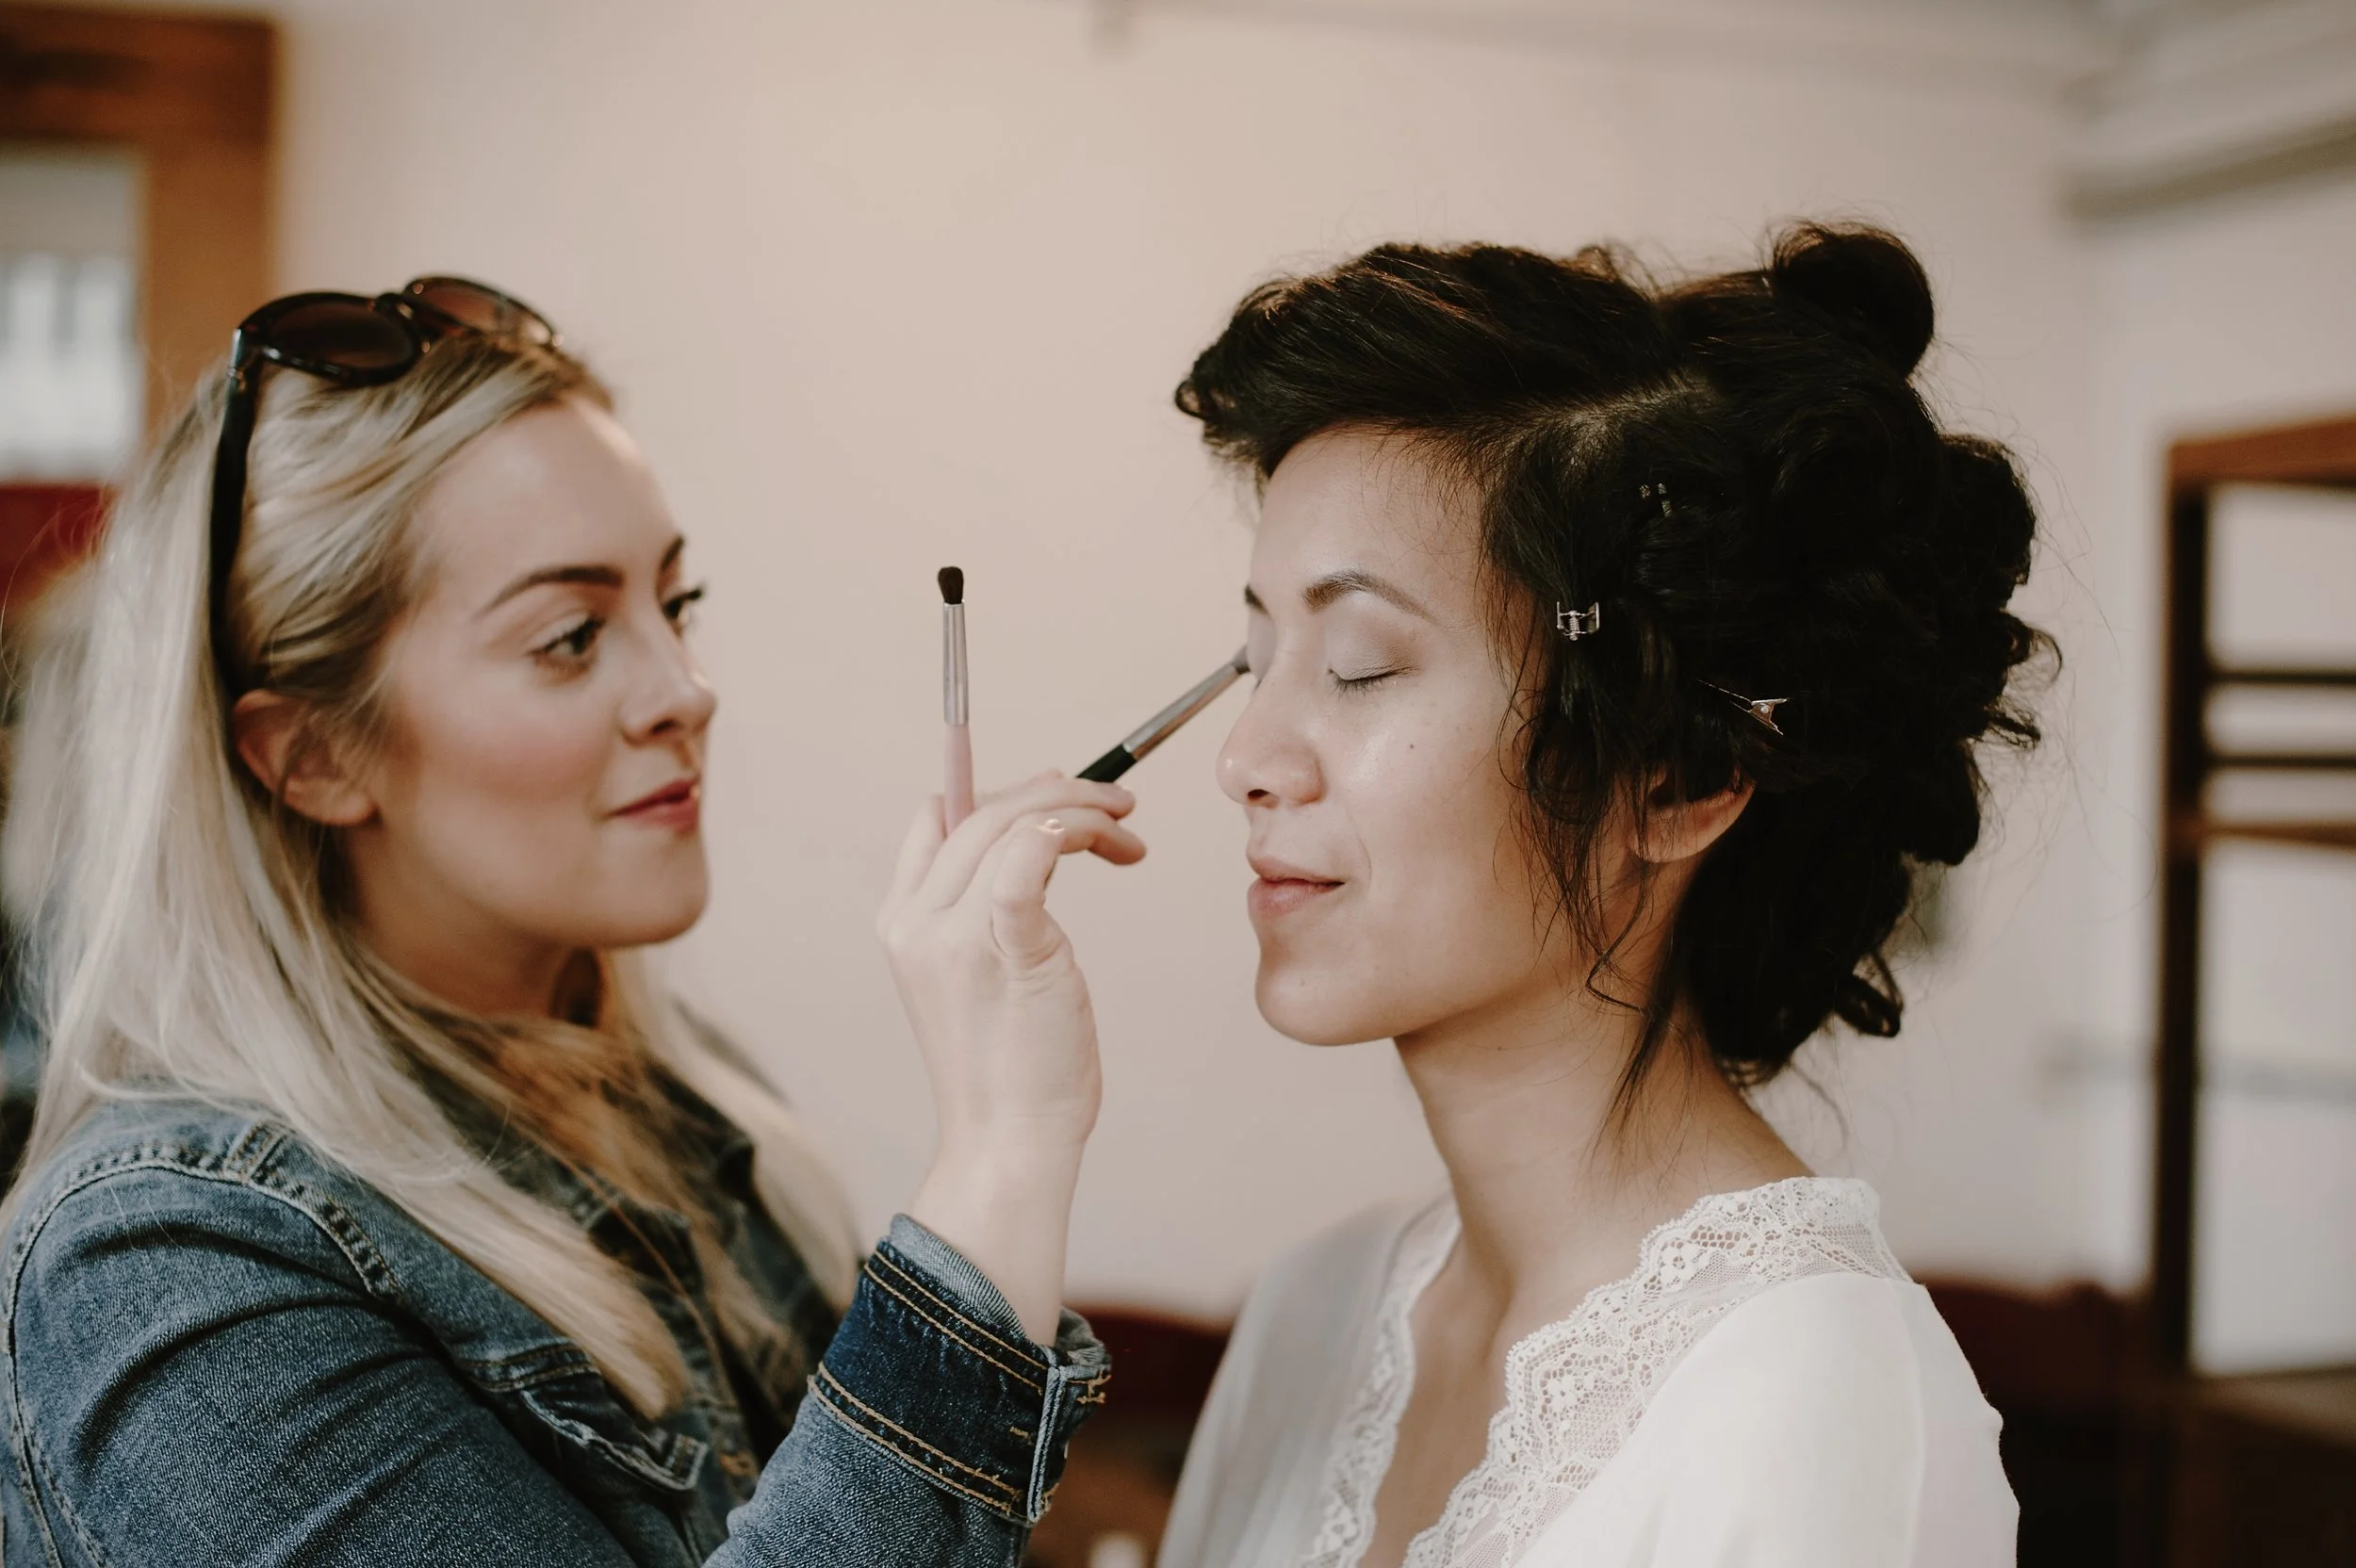
Our Wedding: Hair + Make-Up
Whoa, it's been a minute since my last wedding post. I guess life got real busy... but I want to finish this series, so next up is hair and make-up.

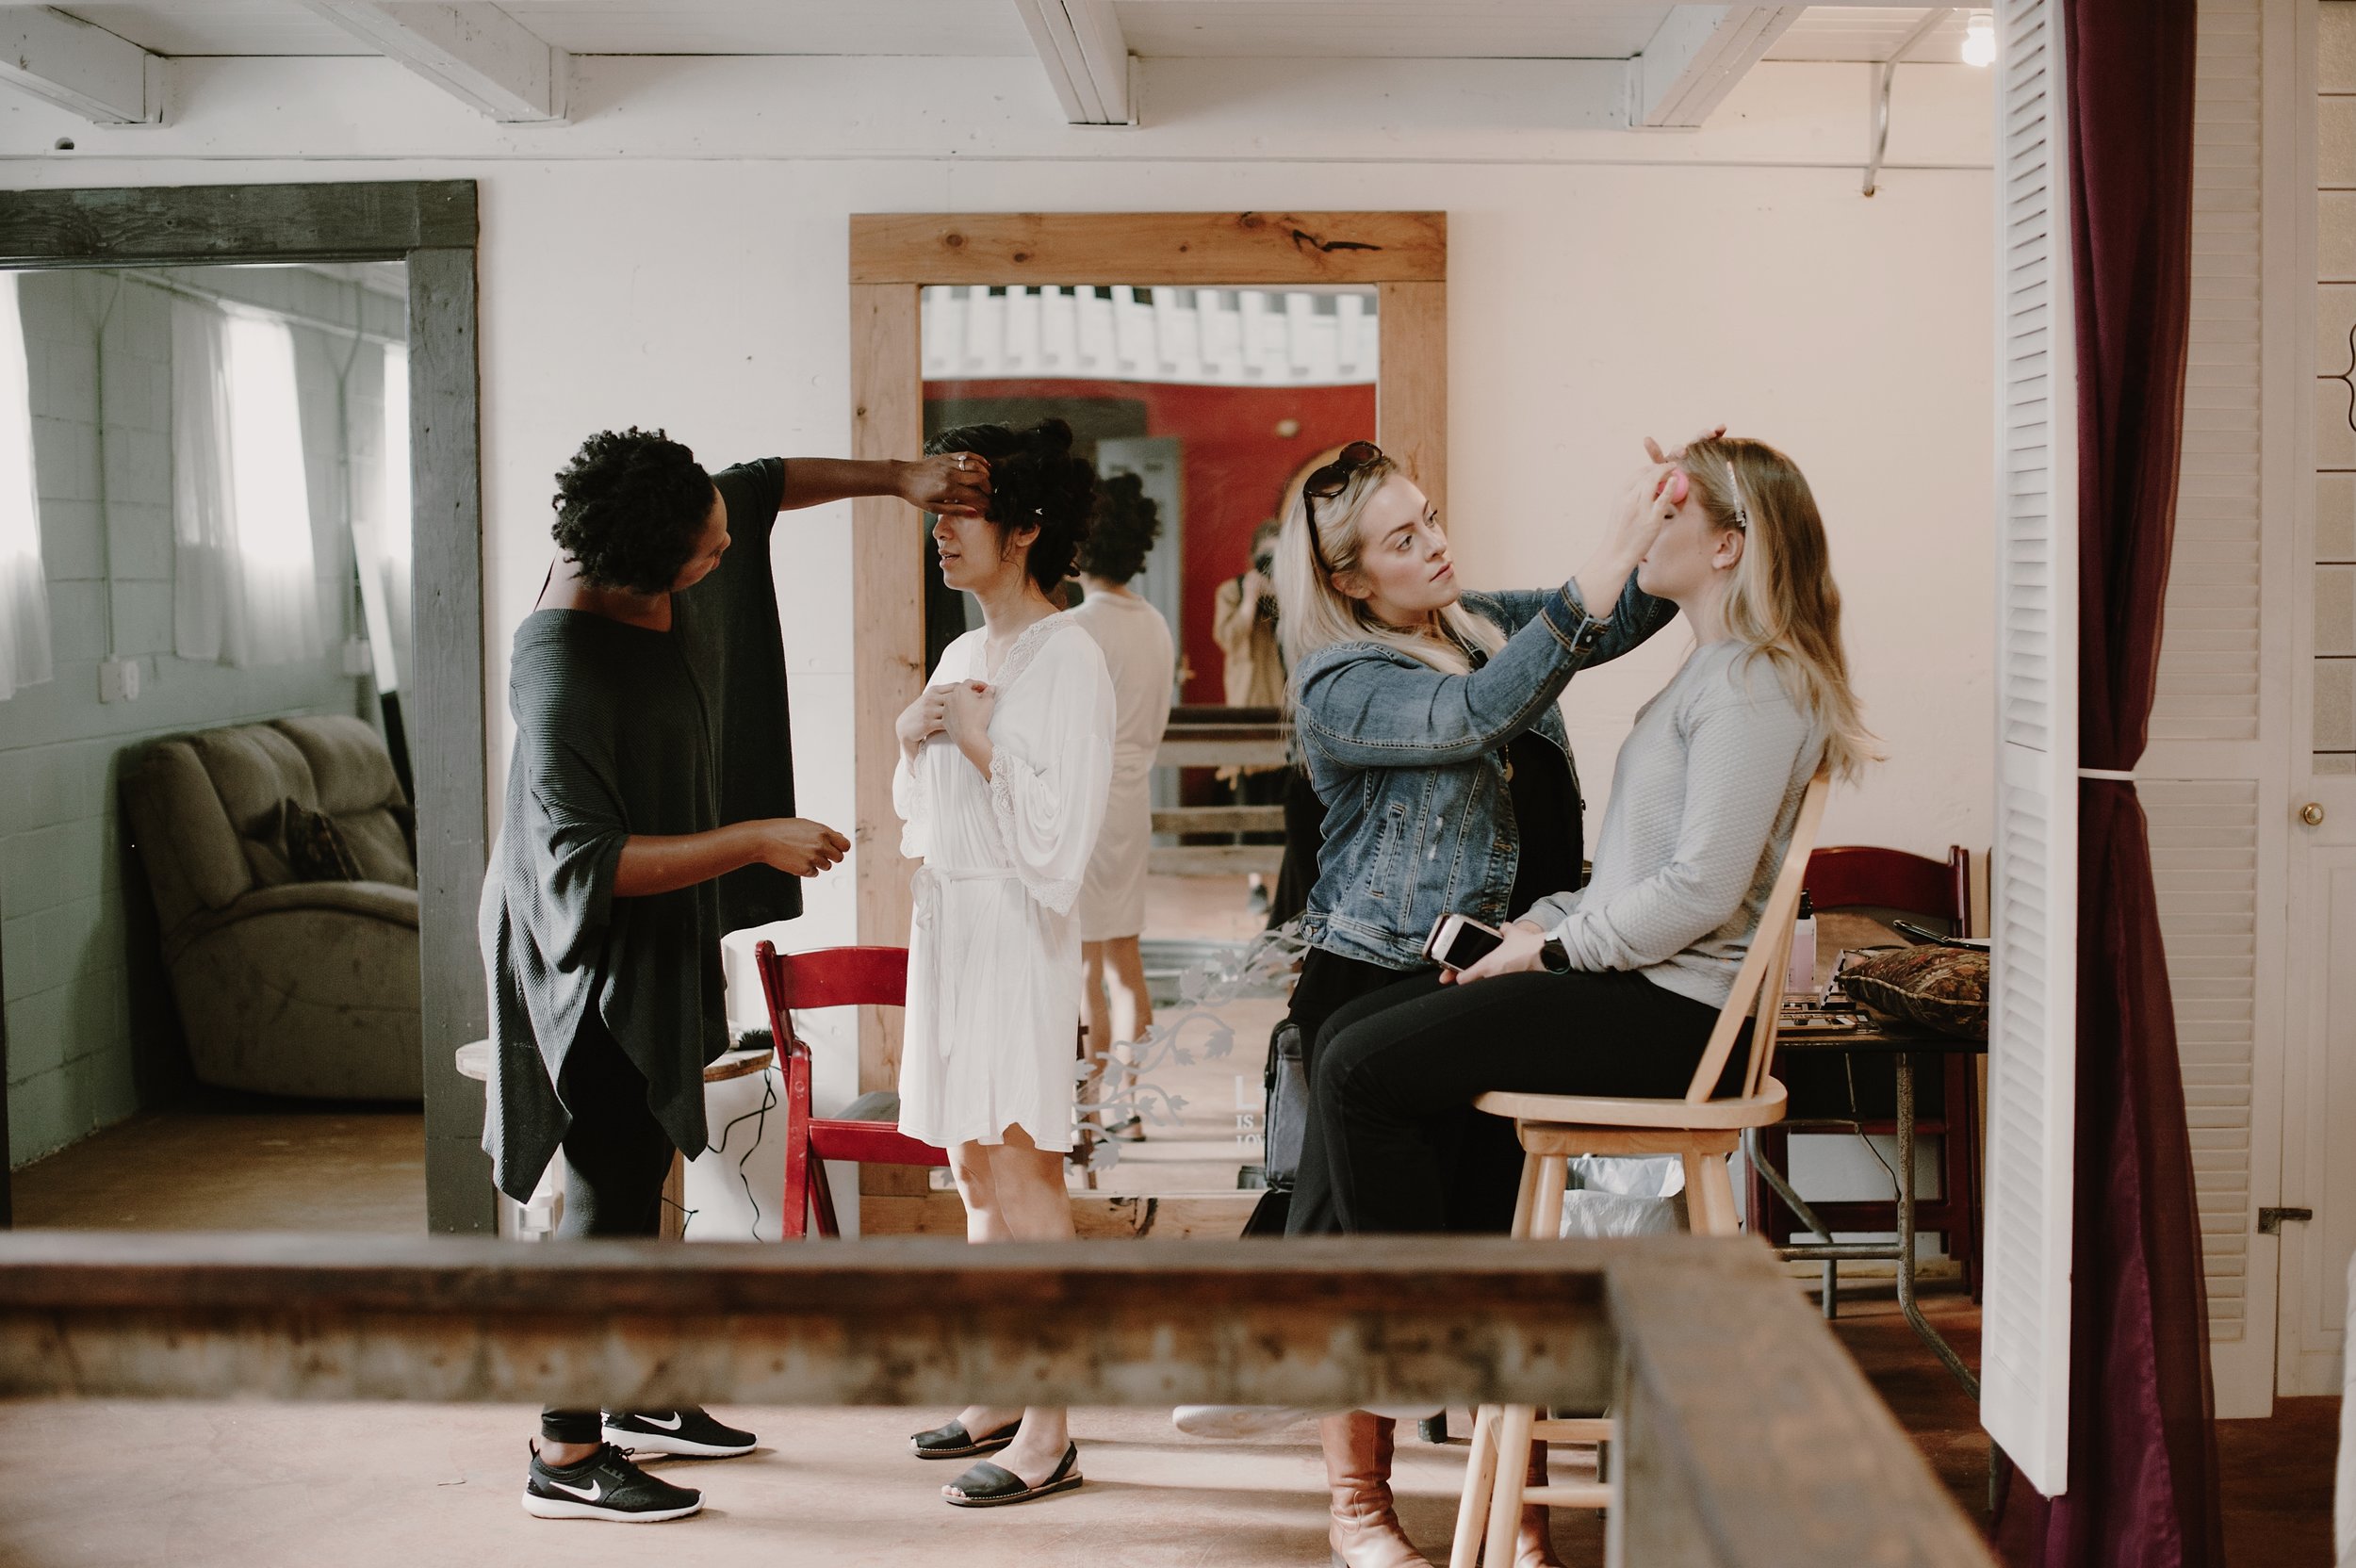
I chose to invest the majority of the beauty budget to make-up... It's one of those things that I really don't have a clue about as I don't wear much on the daily. When it came down to it, I knew that I'd be hiring Chelsey Matley. I'd seen her work with so many previous brides and my photographer sang praises about her as well. We have tons of mutual friends and I knew she'd be awesome. Most of my bridesmaids would probably say the same and I wanted them to feel beautiful on the big day as well. Chelsey not only did my make-up but all five of my bridesmaids and each one of them looked incredible.

This is one of my favorite frames. So good.

Next up is hair... because make-up was an investment, I went on the good ol' Facebook and asked around if I had any good friends who did hair as more of a hobby... and being the awesome lady that she is, a friend from college (Deandra Hamer) stepped up to the plate. I didn't want to do anything crazy with the hair; I just knew that I wanted it down. We did a few trial runs and I'm really happy with the work she did for me! And for an amazing price ;) She also helped out with everyone else's hair too. Thanks girl!


My advice when it comes to this... I really don't have much, truthfully. I am not a make-up/hair guru AT ALL. I can't even curl my own hair and for the most part, my hair holds curls pretty well. #fail. So, I had to hire out or ask for help because these areas were not my forte. If you've got room in the budget, I'd say hire pros... and if not, and you're great at this stuff, then save some dolla bills and do it yourself! :)


Our Wedding: Event & Floral Design
I've been looking forward to this post because there's much to share/ much I can say... I'll attempt to keep this short. When it came to our event design we wanted it to be sophisticated, but not stuffy. (I may have already stated this somewhere else... ha!) We still wanted it to say Aaron and Dorothy. And so the main colors for our wedding were black and white- with accents of green, plum, burgundy. Below is the vision board I put together:

the FLOWERS.

A year before my wedding I had photographed my friend Hannah's wedding (featured on 100 Layer Cake!) and at the time her and her sister were starting a wedding design and event planning business. I had been dating Aaron for about a year at that point and I didn't know quite when we would be getting be married but I knew it was going to happen... haha, so we decided to do a trade! This was a huge deal for us as florals can get very expensive. But out of all the Pinterest ideas and DIY projects you could do for decor and table settings, my number one priority was flowers. All the trends you see out there will go in and out of style, but flowers never will... so this is where we invested the majority of our money when it came to decor. I am so so grateful to Hannah and Elsa of Juliet & Lou. They did a beautiful job on our limited budget. We had them create so much for us:
a bridal bouquet,
a bridal floral crown,
5 bridesmaid bouquets,
9 boutonnieres (groom, groomsmen, dads)
2 wrist corsages (moms)
4 flower girl floral crowns
2 large floral arrangements for the ceremony
the altar
18-25 table arrangements


the PLACE SETTINGS.
Originally we were just going to have a menu and a napkin at each spot, but the closer we got to the wedding, the more I realized that it was going to look pretty empty at each table so last minute, we decided to do plates and utensils. Hannah found some sweet black plastic cups to fill in at each seat too! Of course they were all the plastic plates that looked real and faux gold utensils we bought off of Amazon. I'm really glad we decided to do this even though it was another $300 or so... but for 225 people? Not bad.
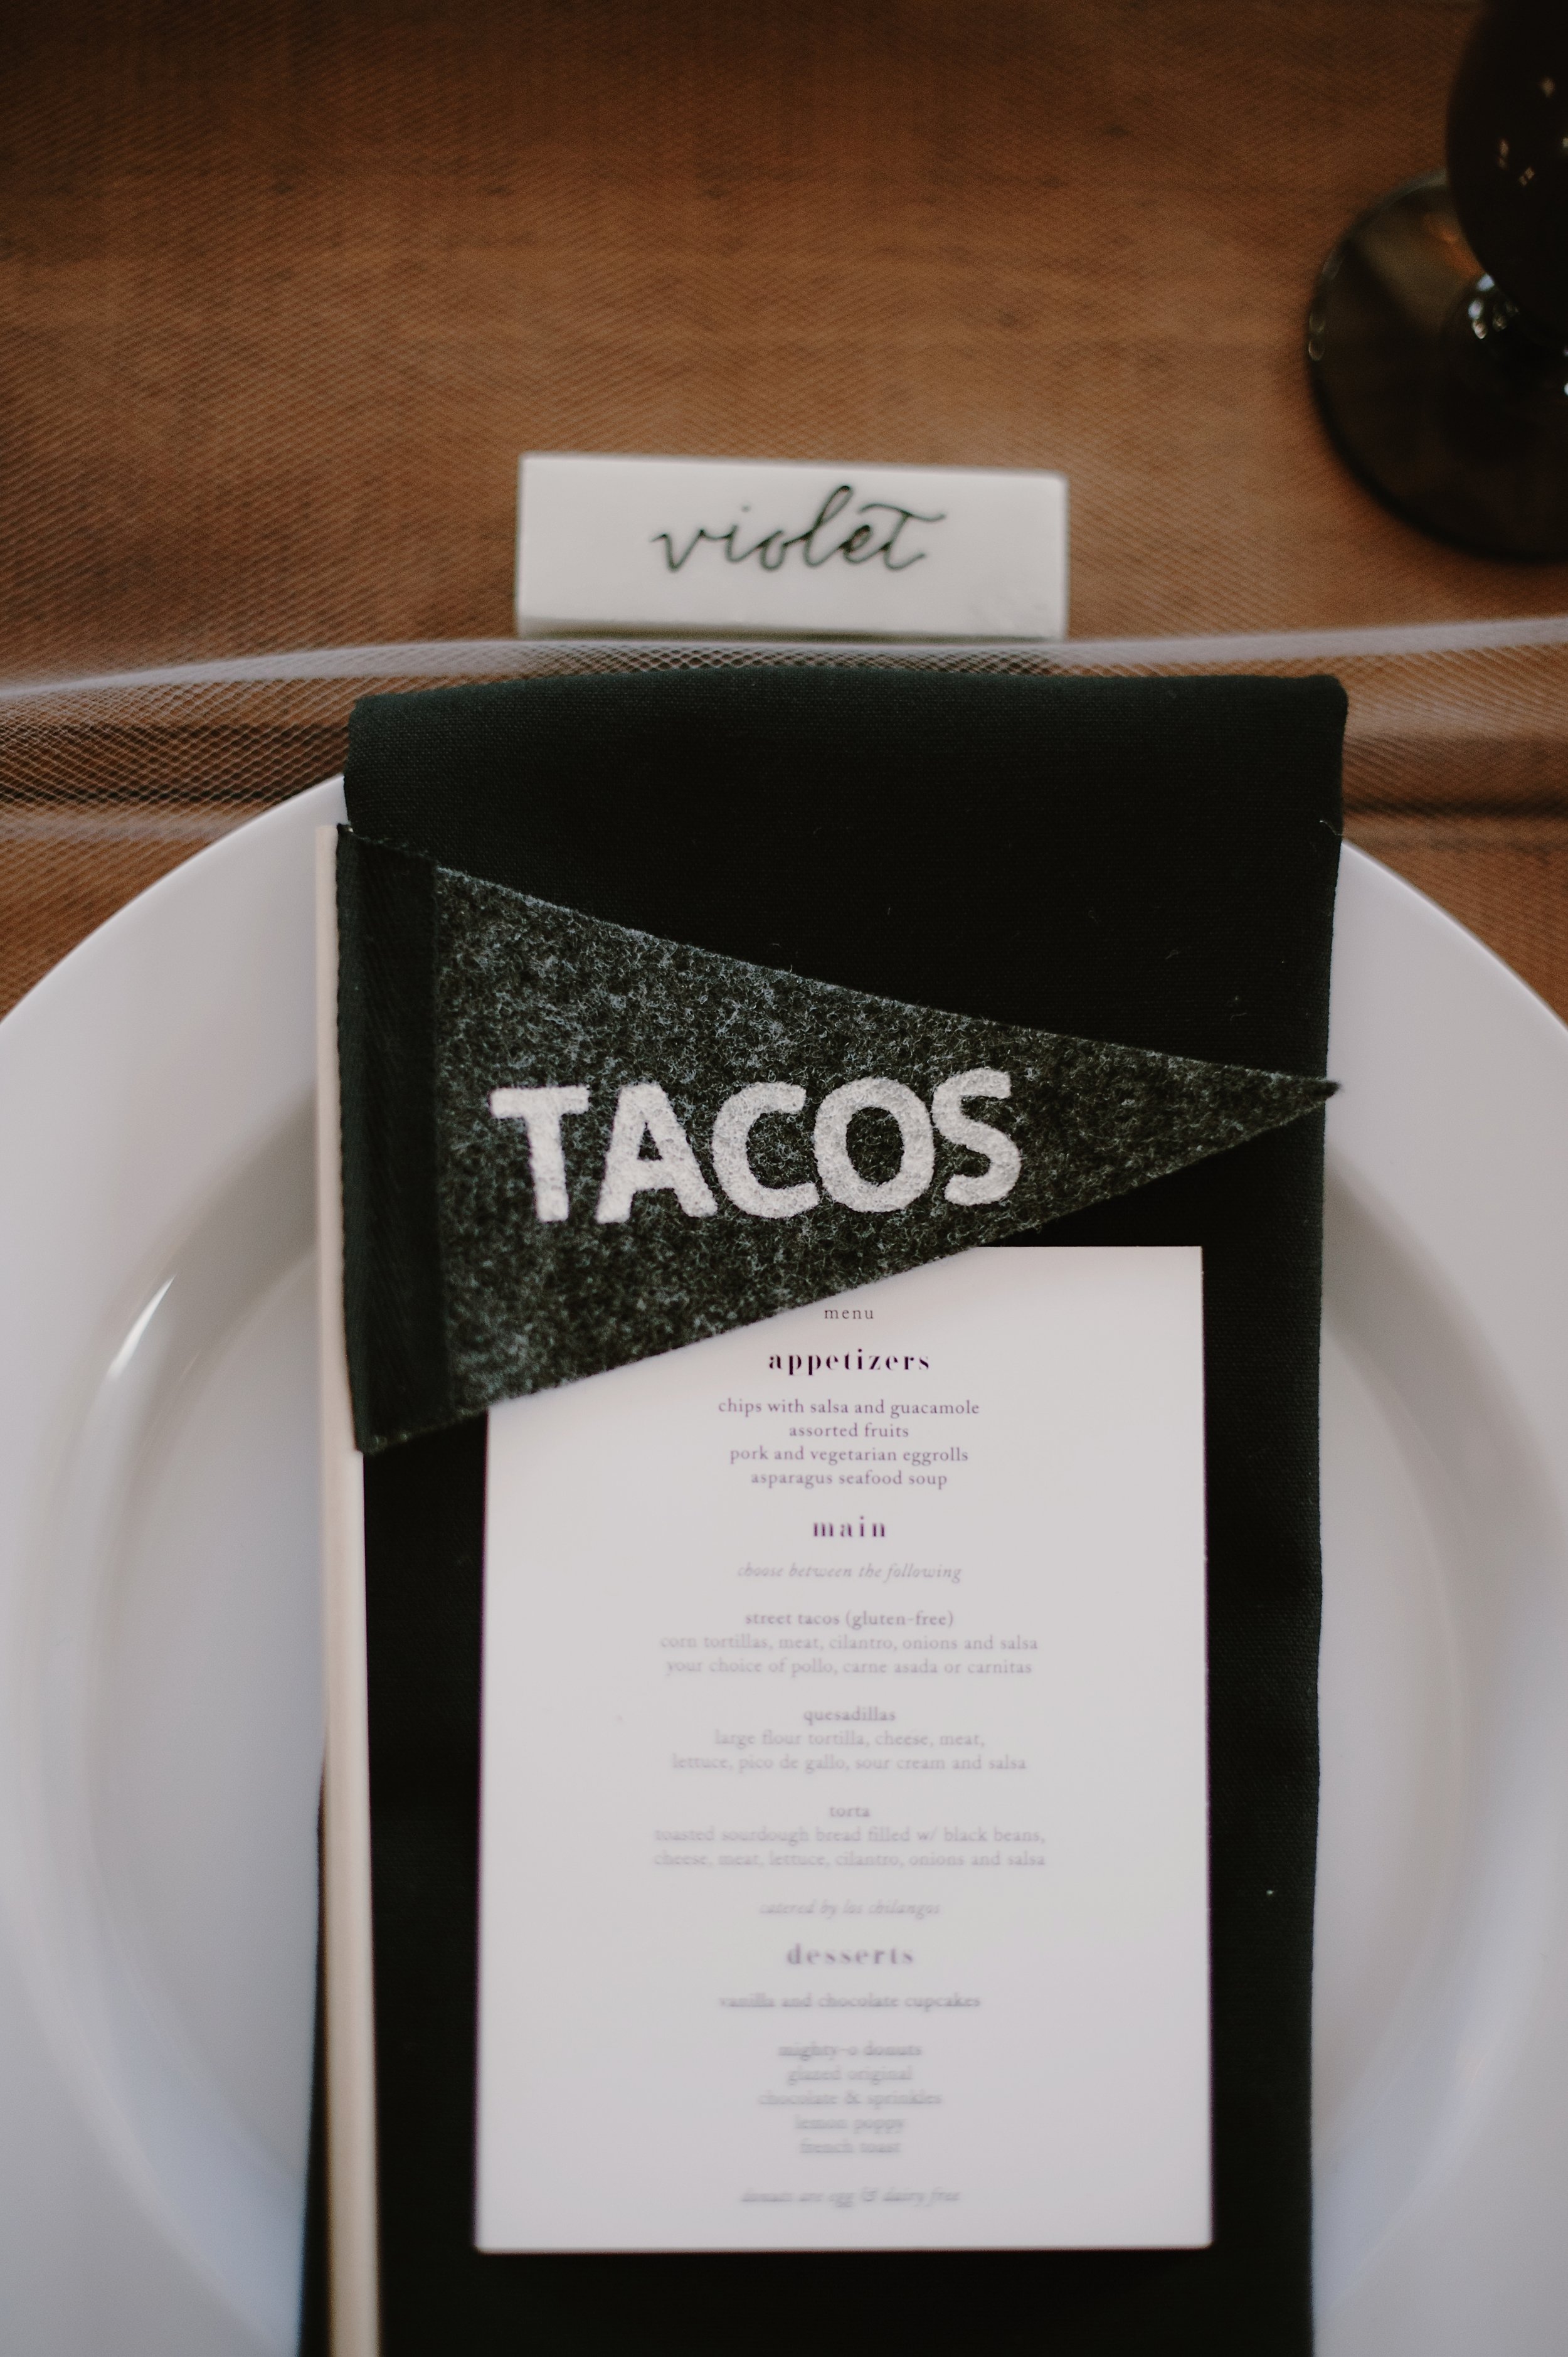
At each setting we had mini-taco flags handmade and screenprinted by my friend Megan Spurgeon. (These were also peoples' favors!) Megan is a wizard and bought all the felt we needed for 250 mini-flags sand 2 large donut/cupcake flags for like $80, handcut and glued these together. Here are some photos she sent me during her process:
I quickly designed a small menu to put at each setting as well, using the same font we had used in our invitations to make it all look cohesive. I used this to make table numbers as well.


We had our friend Ellen Mauro, who also addressed our invitations, handletter marble tiles we purchased from Lowes' for placecards. Guests were also welcomed and encouraged to take these home as well!


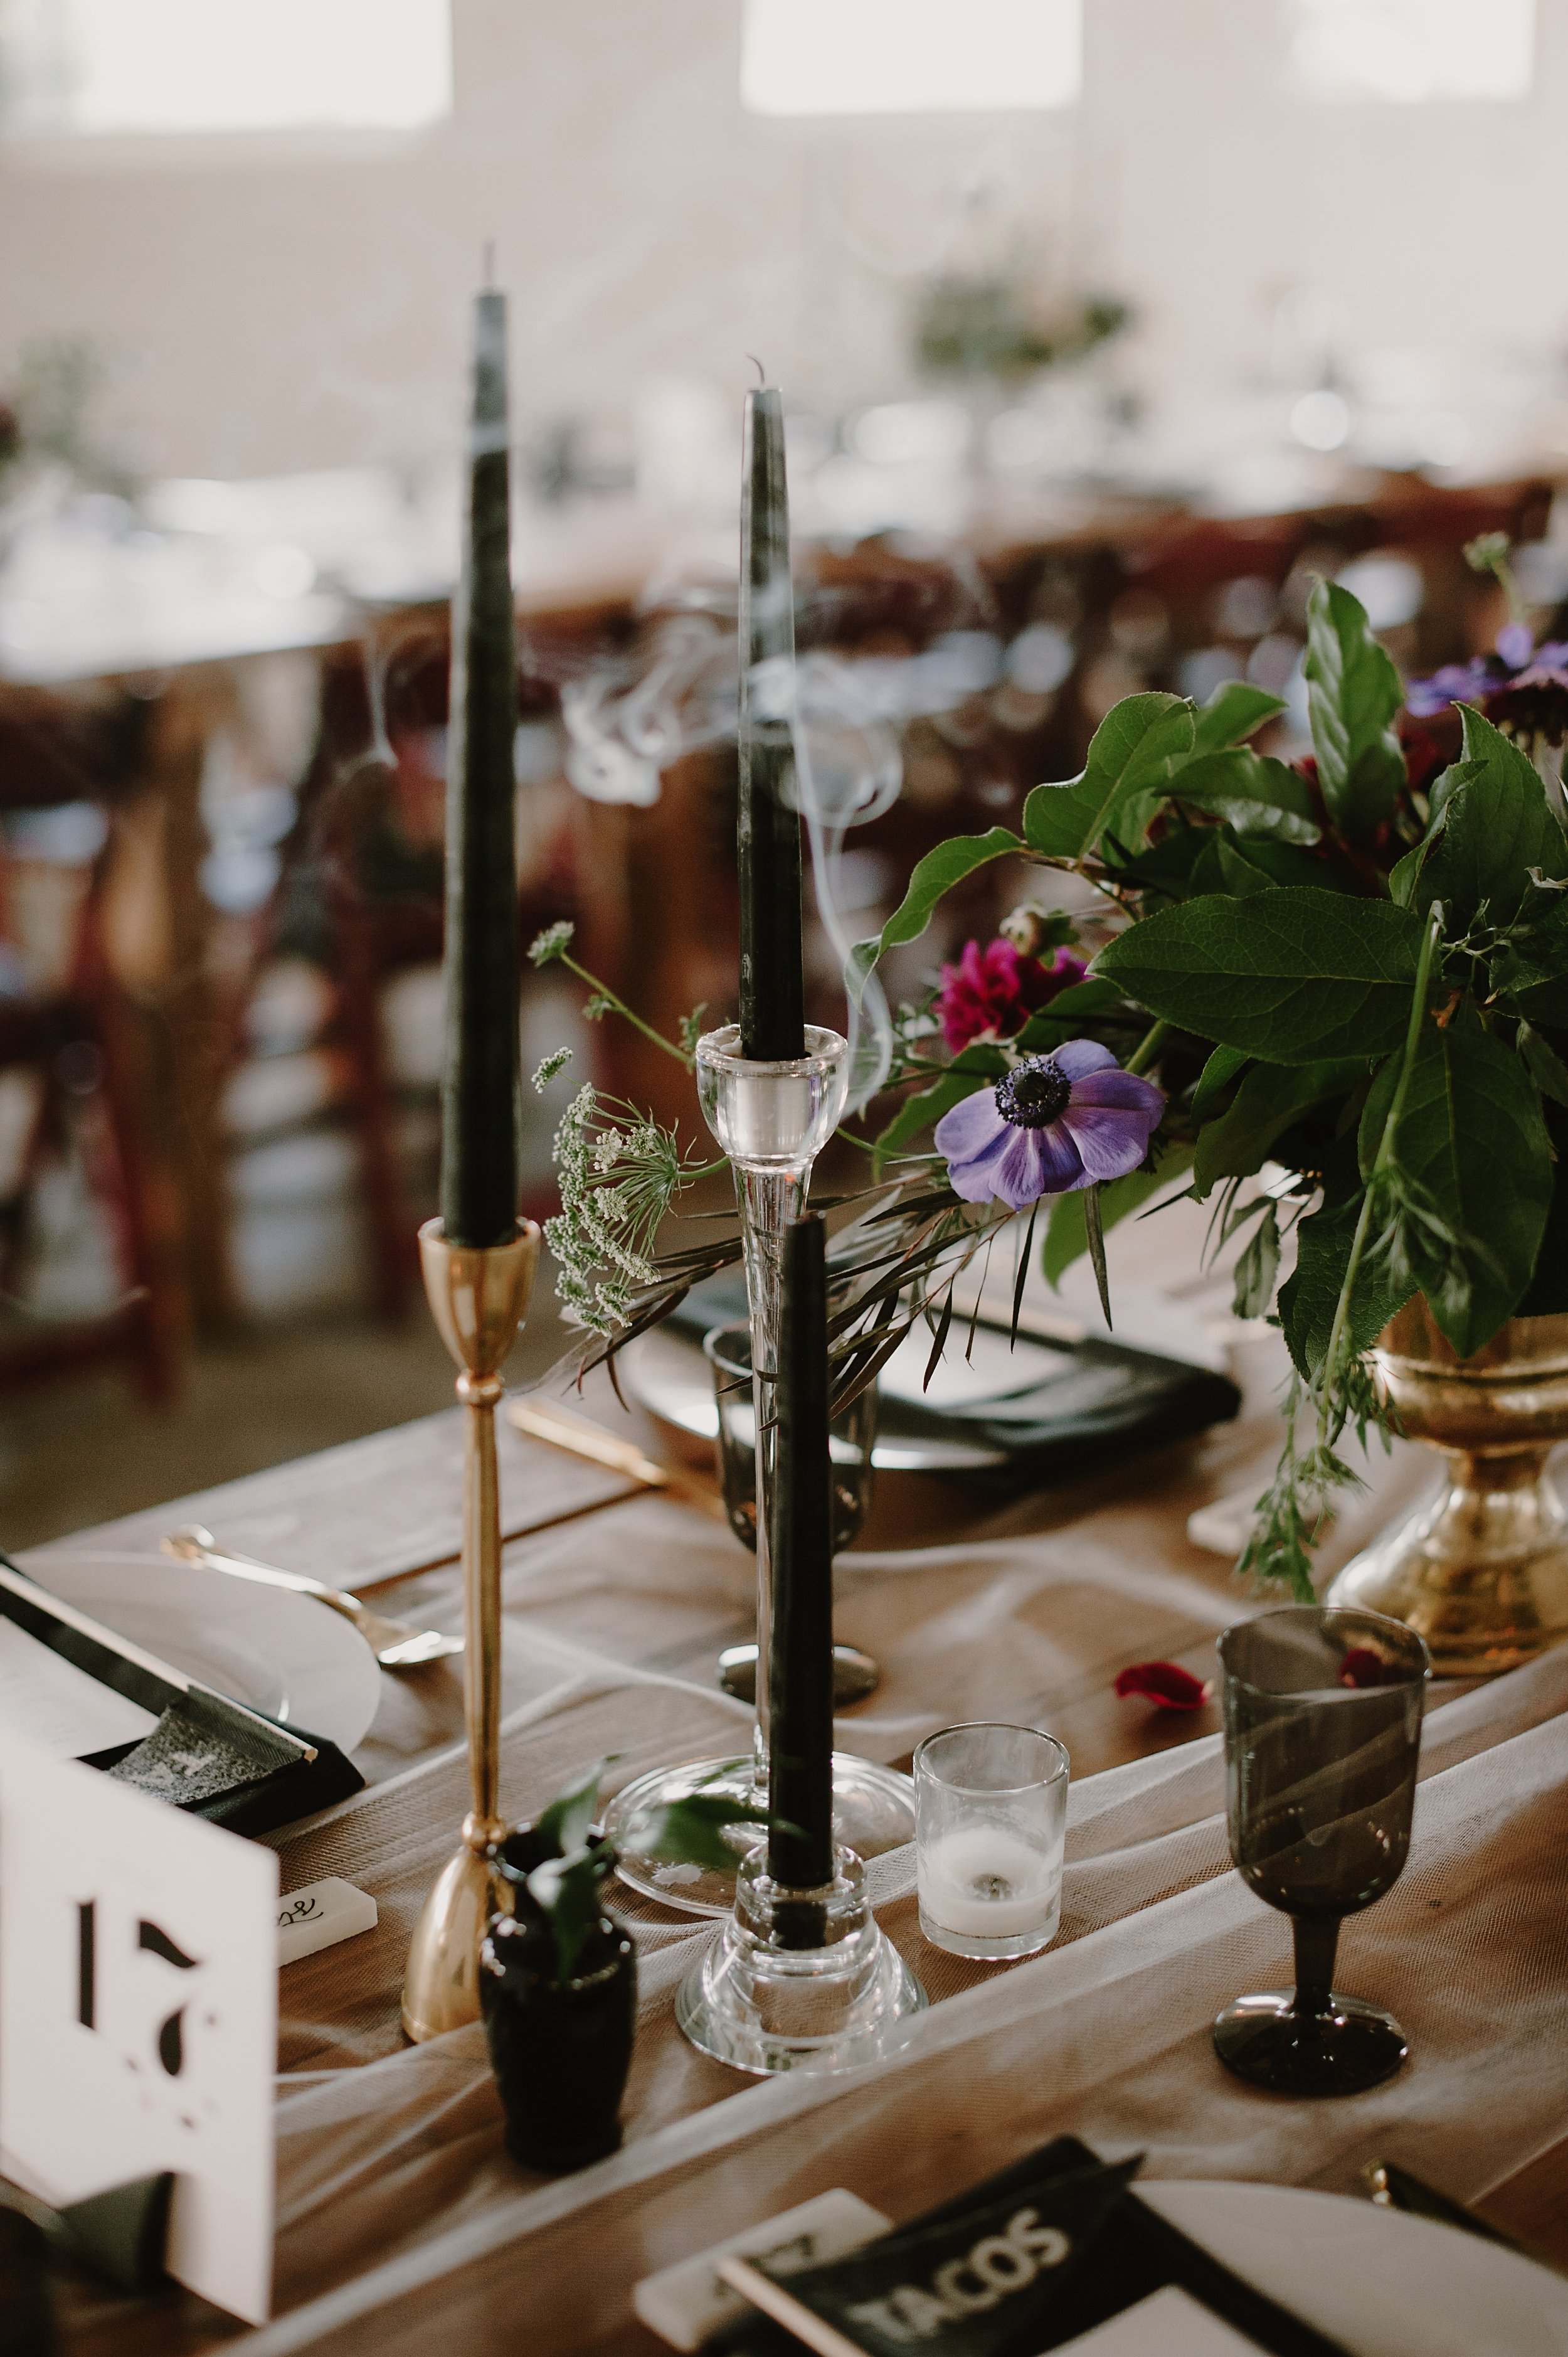
other ELEMENTS.
Some other things we added on each table were black taper candles- I loved these so much! Megan also made some triangular placecard holders for us with black modeling clay. I made the table numbers with floral elements illustrated by Eleni Hannula.


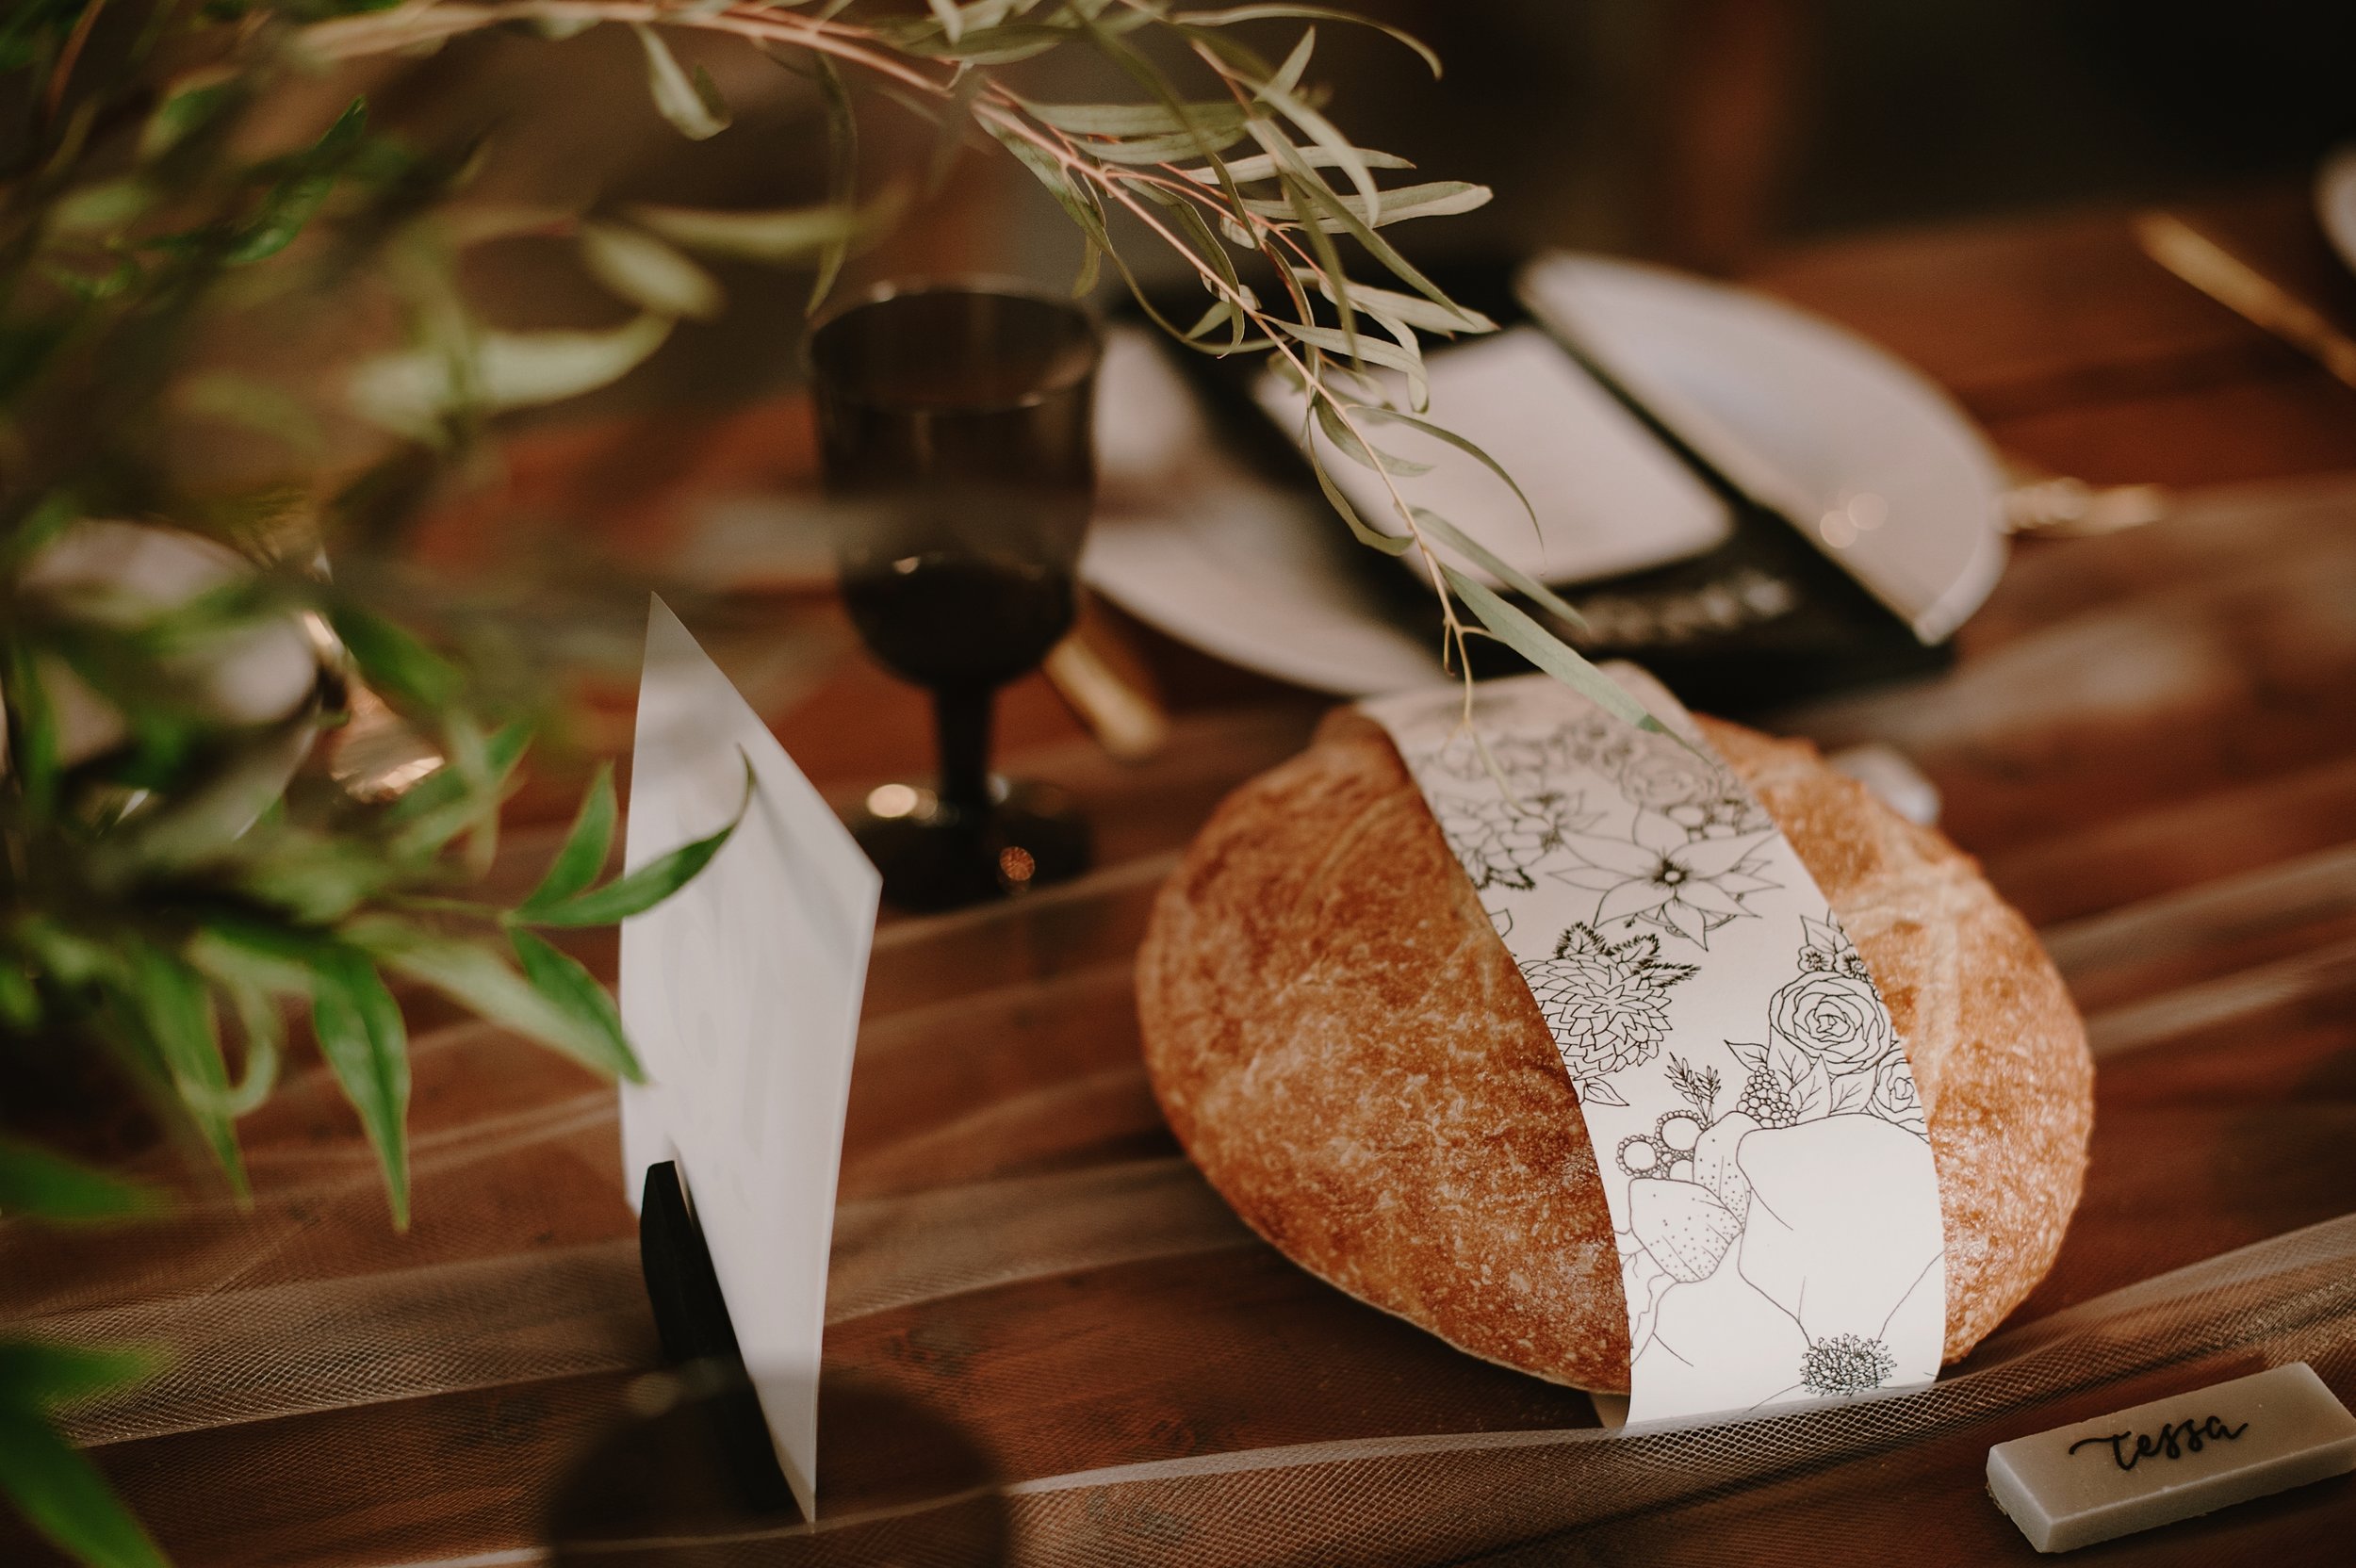
Instead of doing communion during our ceremony, we decided to do it at together with everyone prior to commencing dinner. This was how it was done when Jesus did it and we loved the family dinner feeling of all being in the same room, breaking bread and drinking together. We bought bread loaves from QFC and wrapped them up with some floral paper.
We cut up the same floral paper into square sheets for the kiddos to color and also bought some small packs of crayons for them. During cocktail hour, we also had a small temporary tattoo station set up with tattoos purchased from Tattly and some handmade with our logo by one of my bridesmaids, Yvonne.


the SIGNAGE.
We had purchased this letterboard from threepotatofour with the intention of using it for Save the Date, decor for the wedding and later for our home. They're pricey but we liked the white border that we hadn't seen anywhere else. At the wedding we used it as a bar menu. J+L had a few as well and they used it for the ceremony site, which we didn't even see until we got our photos back! Ha. Just for fun (and because this blog post doesn't have enough photos already...) here was the gif of our Save the Date we sent to everyone:


I hired my friend Libby Tipton to do our seating chart. Ellen had just had a baby! and I wanted to be able to use as many of my friends' talents as possible. She did an amazing job for having 225 names! Aaron bought some plywood and stained it black for us to place the chart on.


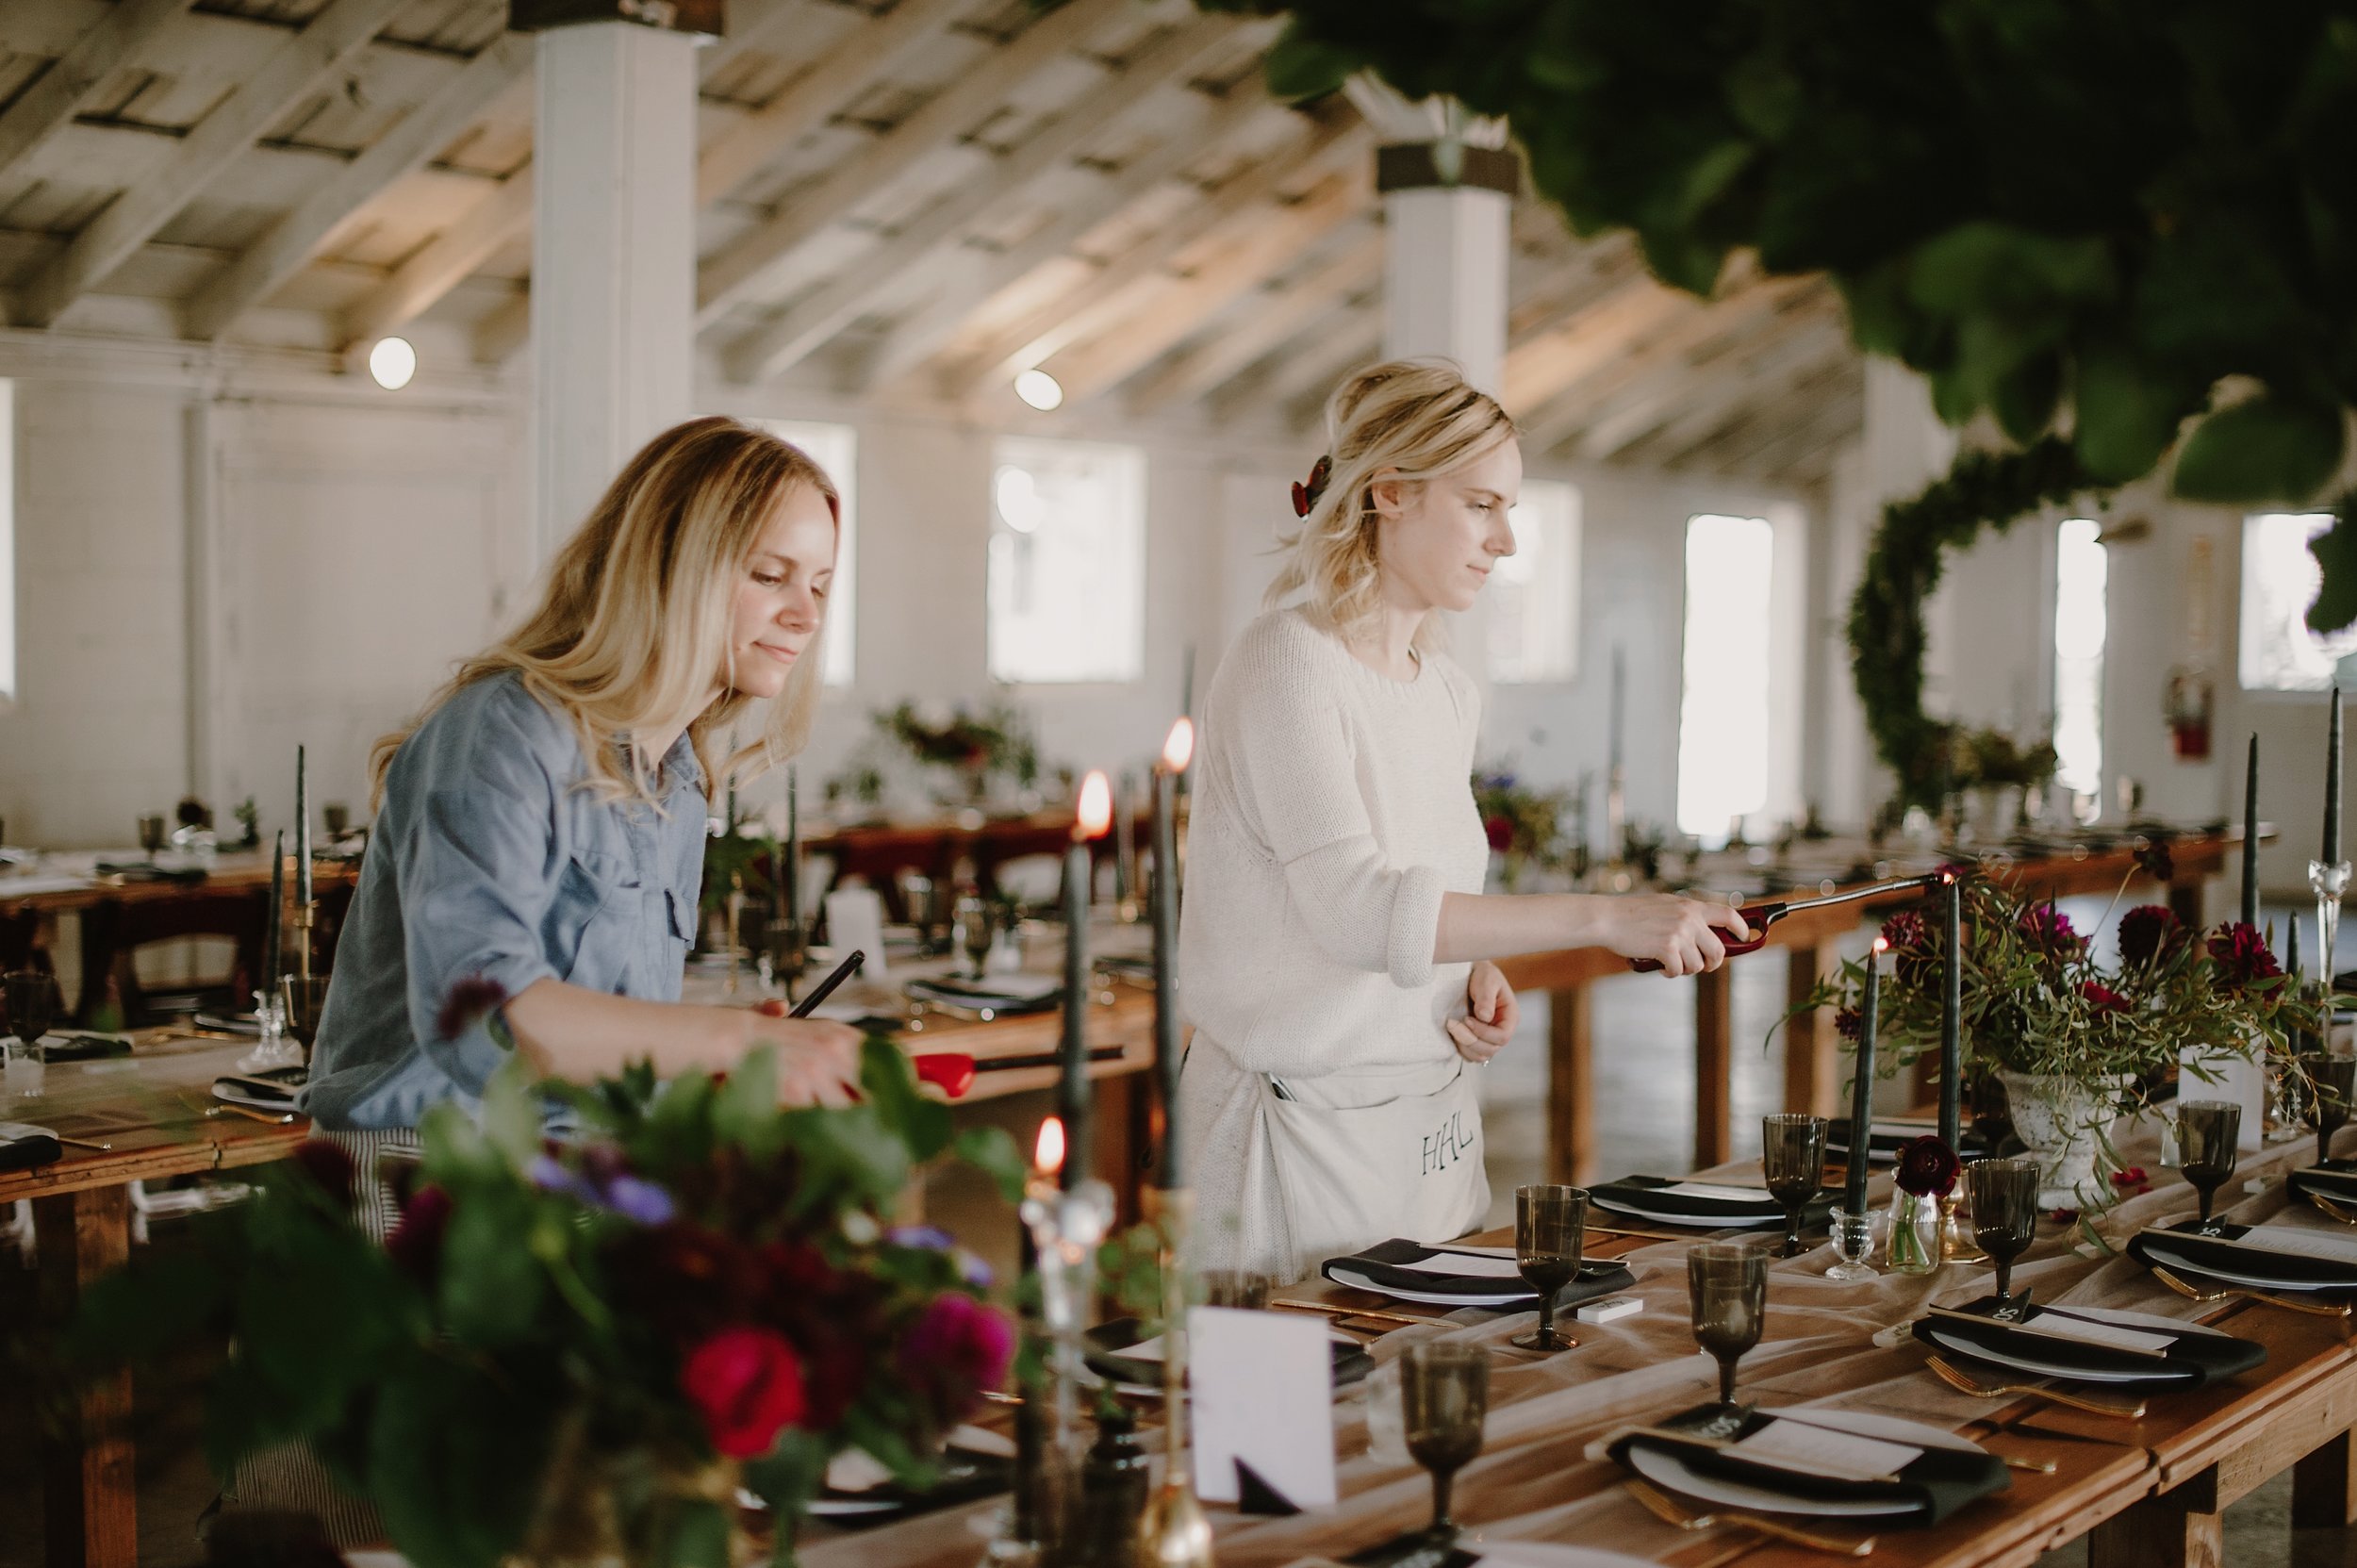
the DESSERT TABLE.
Hannah and Elsa rented the black dresser from Vintage Ambiance. We borrowed cake stands from them and friends. Our donut pegboard was made and stained by Aaron himself. Our flags of course, by Megan.


There you have it! It all turned out so beautifully and better than I could have imagined. I cannot thank Hannah and Elsa enough for seeing our vision come through and making it even better! It was so fun to walk in the room and see how it came together. Thank you to my SPU friends for coming out early and helping set up- you guys know who you are!
My advice? I already mentioned it above to be honest... pick elements that will stand the test of time, if possible. Clearly the geometric aspect of our design is super trendy right now but it's definitely very me... I mean, I've got a permanent triangle tattoo on my body ha! But seriously, invest in flowers! They will always be beautiful. And if your budget doesn't allow too much wiggle room for decor, that's okay! Invest it in things that will serve your community because a wedding is not only a celebration of two people coming together but a celebration and a thank-you to the friends and family that have brought them to that point in their lives.
And I'll leave you with some more of my favorite photos because Kristen nailed it.


Read our past wedding blog posts:
*all photos posted by Kristen Marie Parker